 |
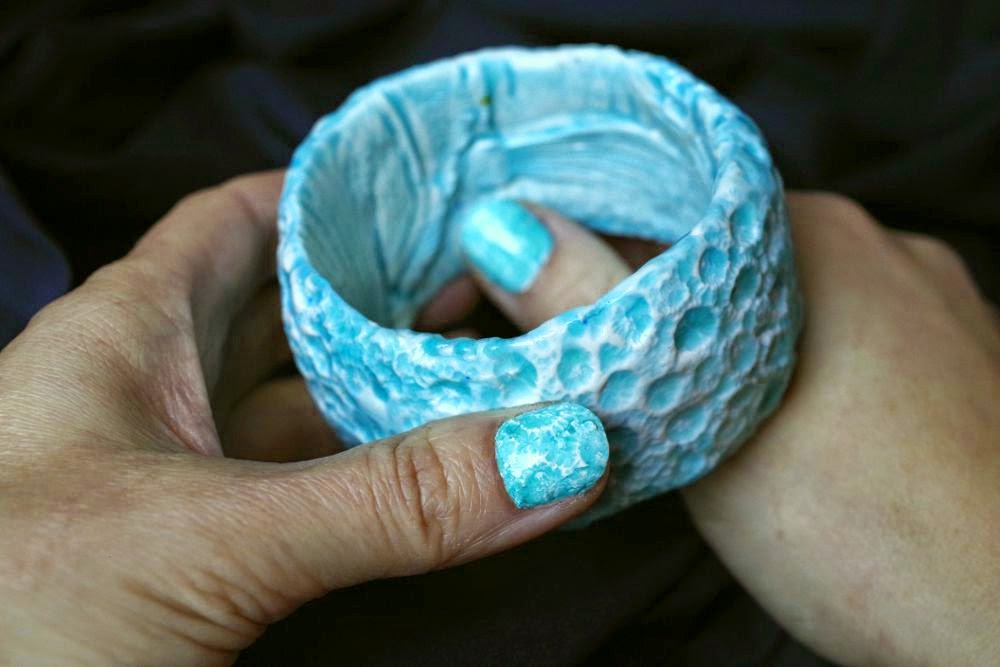
| Inside the reef bracelet and assorted nails. |
In polymer clay work, adding translucent tinted layers on textured clay is a well known technique to create faux ceramics. I think that you see where this is going... This time, I have applied the same approach to a polymer clay bracelet and nail surface treatment (well, the bracelet inspired the nails), which is probably way overboard in matching everything together.
There are many ready translucent colored polishes (from jellies to sheer tints), many recipes for DIY tints like for instance here or here mixing opaque or jelly polish with clear polish or top coat.
I tried to combine several of my jelly polishes with transparent polish, but none of them had quite the right color for a perfect match with the bracelet, so I used the same alcohol inks as for the clay (Pool and Stream from Adirondacks). I let a few drops evaporate completely in a small bottle, added Sèche Vite polish diluant to resuspend the pigments, and then a few drops of transparent top coat (this polish is used in thick layers, so drying fast is important). I would not advise this though, as the inks are not makeup safe, but from what I have seen the one I made was a bit more colored than the OPI tints, for instance.
Basically, you make and install the dimensional polish decals like described here, but using a white or very light colored polish.
 |
| Coral texture on the thumb |
After this layer is solid, either you are happy with how it looks, or you can add more tinted polish or remove some (by stroking it with a sponge with a little polish solvant). When the pattern looks good, you can level the whole with some untinted top coat.
I discovered in the process that it is best not to keep the polish decals too long before use. I made a try on a wheel the next day after making them, and all went fine. But I let two weeks pass between installing them, and they were so rigid they broke in pieces when I curved them around my nails. I saved them by putting a layer of top coat on their back before installing them, as this made them just pliable enough.
 |
| Too much going on on the other nails. A pity, the waterspotted was real nice. Fish scale texture. |