This works great with molds:
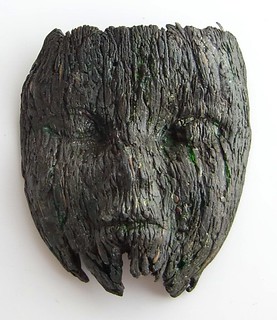
As a surface texture for faux wood (adapted from the twig tutorial of Randee M. Ketzel)
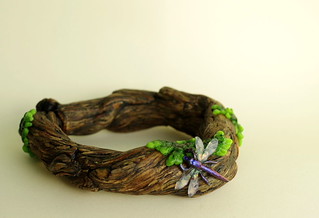
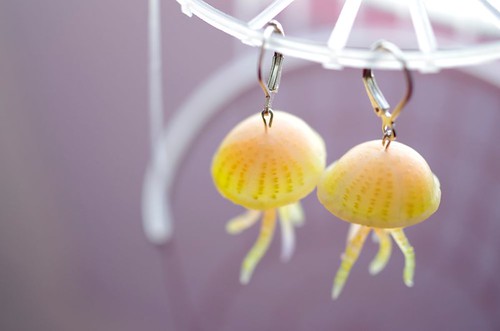
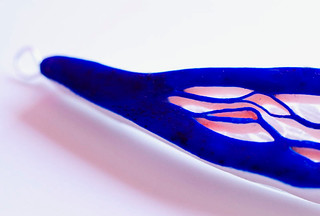

 Hexacorallia in black and white

 Now I am somewhat satisfied with my quartz mix (although this last iteration is a bit too pink for my taste), I made some stones beads.
 The next generation of stones, unbaked, and one of the rough sculpey light cores. The shapes already look more interesting. These all have two parallel channels for thread, and are much flater than the previous ones.
 Still in the silicon molds, and antiqued with black acrylic paint: Premo frost, ochre oil paint, metal fillings, and mica substrate from one of those canned plants. The canned plant did not grow, but the mica flakes substrate has found a new use. Lower picture : liquid Fimo, metal fillings and mica. I should not have left it alone before putting it in the oven, all the flakes and fillings fell to the bottom, but the liquid fimo is remarquably clear.


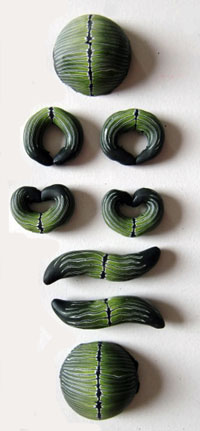
 I made a rather simple mix using black acrylic paint, and rough clay pieces made with a grater, the standard « turquoise »mix found in almost all websites (see GlassAttic and the Polymer Clayspot for instance) and in books (Carol Blackburn's Making Polymer Clay Beads). The more interesting part (for me, and hopefully for you too as I have not seen it yet described elsewhere), is what I got using cheap silicon chocolate molds (1.99 euros) to make cabochons. The molds come in a variety of shapes on the same plate (see picture), and of course are oven-safe. I aggregated the clay and paint in the mold to make a relatively fine layer (0.3 to 0.5cm) without working it too much, and baked. In parallel, I baked fine (0.15cm) slices from canes inspired by the Donna Kato squiggly beads (from her Millefiori Techniques book) and Melanie West's striped canes in the same molds (last picture below).
 The resulting cabochons are quite nice and get the turquoise effect accross as I wanted, but this is actually a less than optimal use of the molds, because the look necessitates sanding the paint off the surface. The molds are so smooth inside, that they result in the same shiny and smooth surface as clay in contact with glass or tiles during the baking. The acrylic paint is fused to the surface and both form a beautiful shiny surface (see close-up). Of course, this works only if the clay was pushed well into the mold : see the difference between the red and the green stones... The cane slices gave a less shiny, but still very satisfactory result, although I had to sand one because of black clay pieces that got stuck between the clay and the mold.
This could be used to make all shapes and sizes of cabochons, as the base can be cut or sanded away to make a smaller or a flater piece, or the mold not filled to the brim. Assembling two half spheres would also yield nice hollow beads, I have to try that.
Version française abrégée :
 Les moules en silicone pour chocolat offrent de très bonnes possibilités pour réaliser des cabochons creux (ou pleins, si le coeur vous en dit). Jusque là, rien de bien révolutionnaire, mais j'aime bien redécouvrir l'eau chaude. Etant donné que les moules sont très lisses, les surfaces résultantes peuvent être comparables aux surfaces brillantes obtenues en contact avec du verre ou de la porcelaine, mais avec une grande variété de formes (et un démoulage très simplifié) : c'est utilisé par beaucoup de monde pour fabriquer des cabochons de résine, voire en fimo liquide. Mais les mélanges peinture acrylique/morceaux de polymère tels ceux employés pour les techniques de fausses pierres (turquoise, etc), donnent de très beaux résultats, extrêmement lisses et brillants (cf photos) si on a bien mis en contact le mélange et le moule (pas comme dans le cas des pierres rouges...) et qu'on fait cuire dans celui ci. La taille des cabochons peut être réduite après cuisson en découpant l'arrière et/ou en le ponçant jusqu'à arriver à la hauteur désirée, et en ne remplissant pas les moules jusqu'à ras-bord...


